Blog
Love the Fabric...
but don't have a clue
what to make with it?
IMAGINE
The Possibilities...
April 2019
Cricket Viscose Jersey Knit
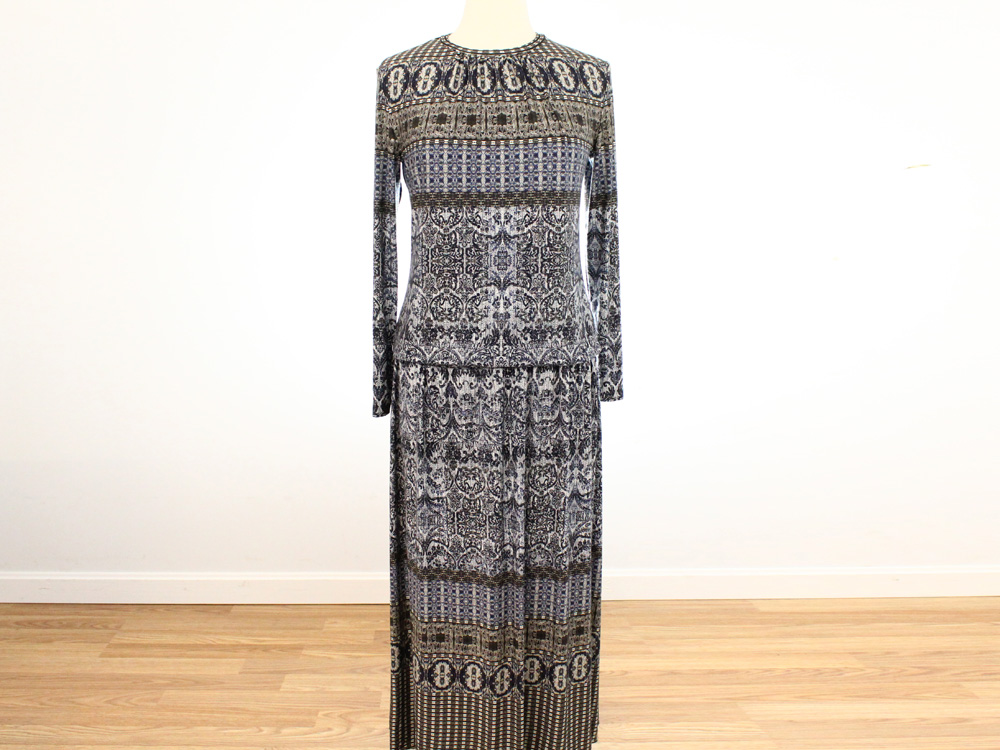
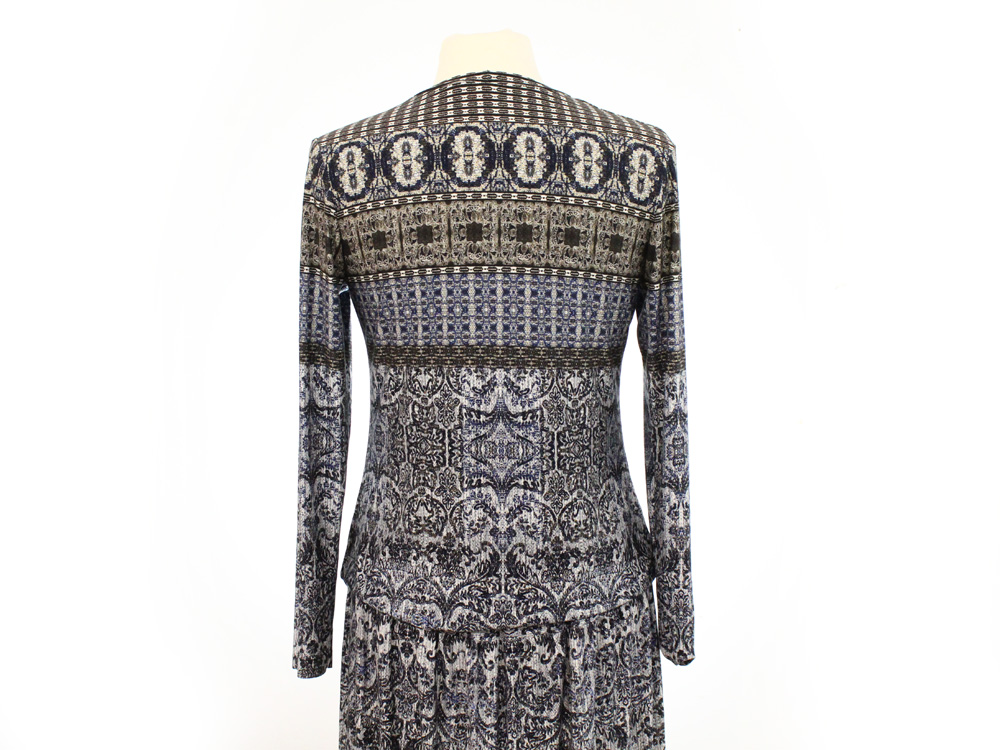
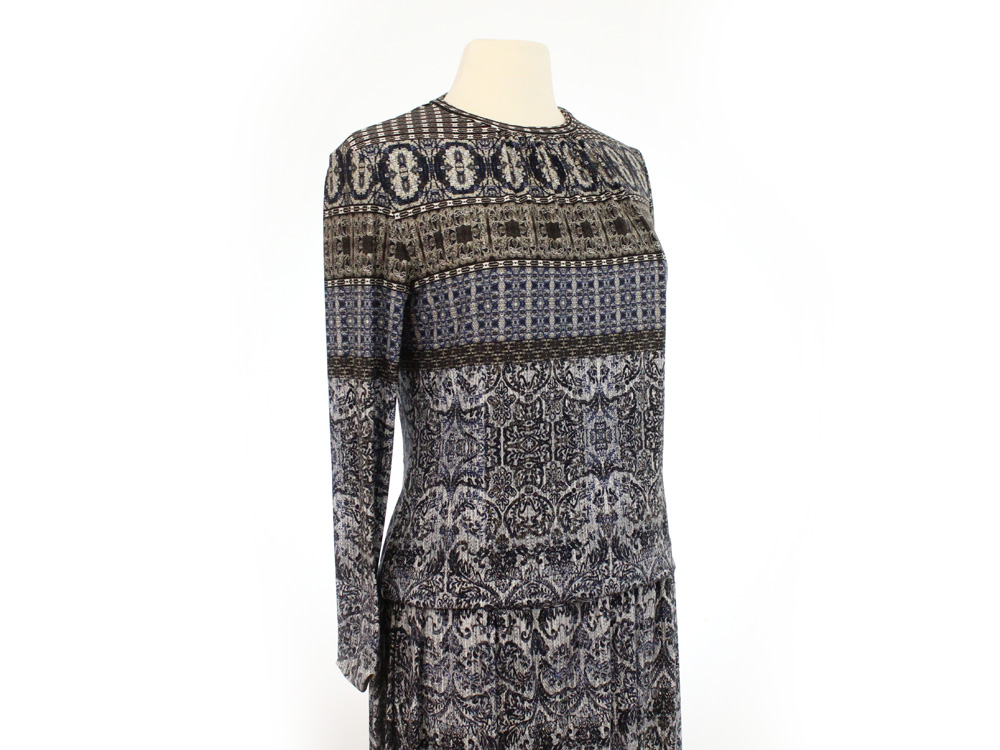
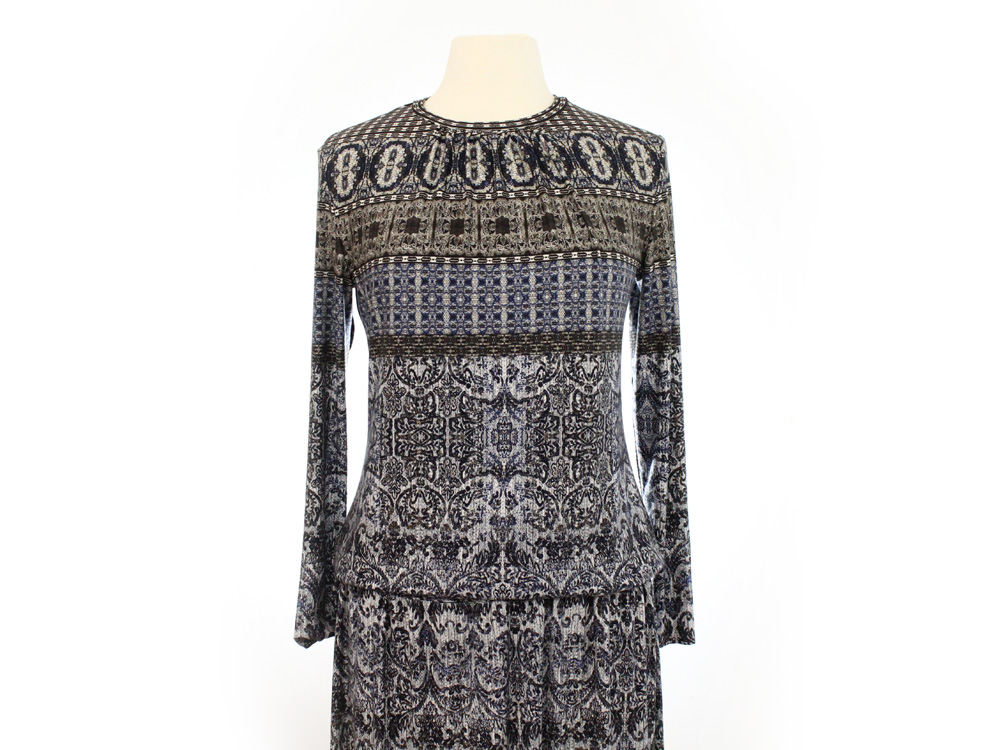
Do you love the Cricket fabricbut are wondering how to show off the gorgeous dual-border design?
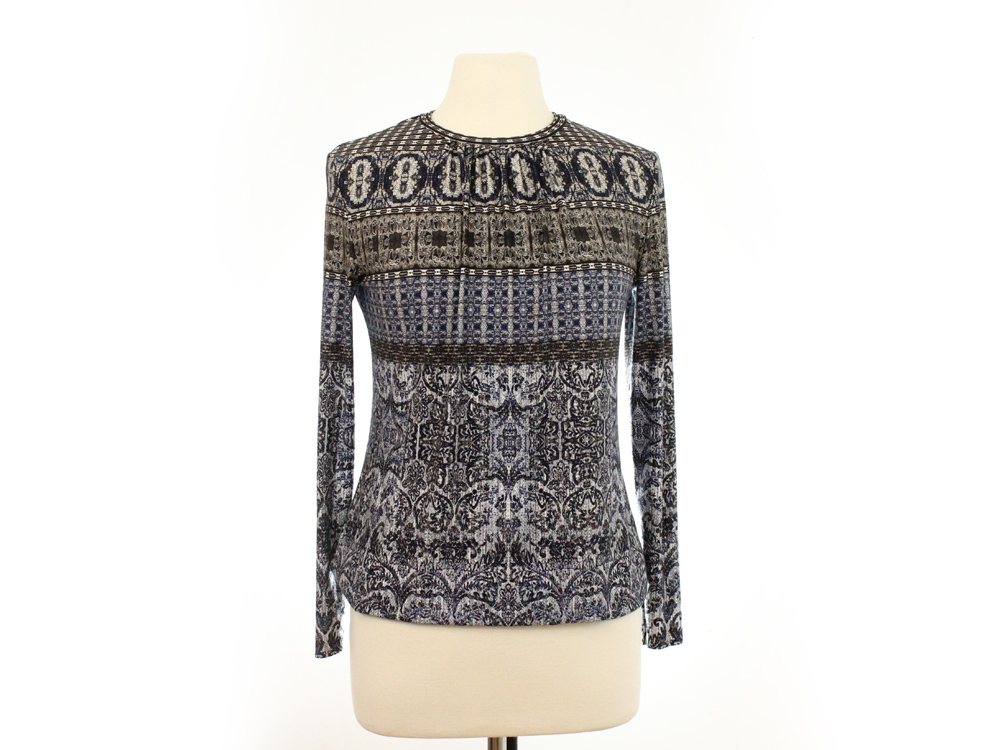
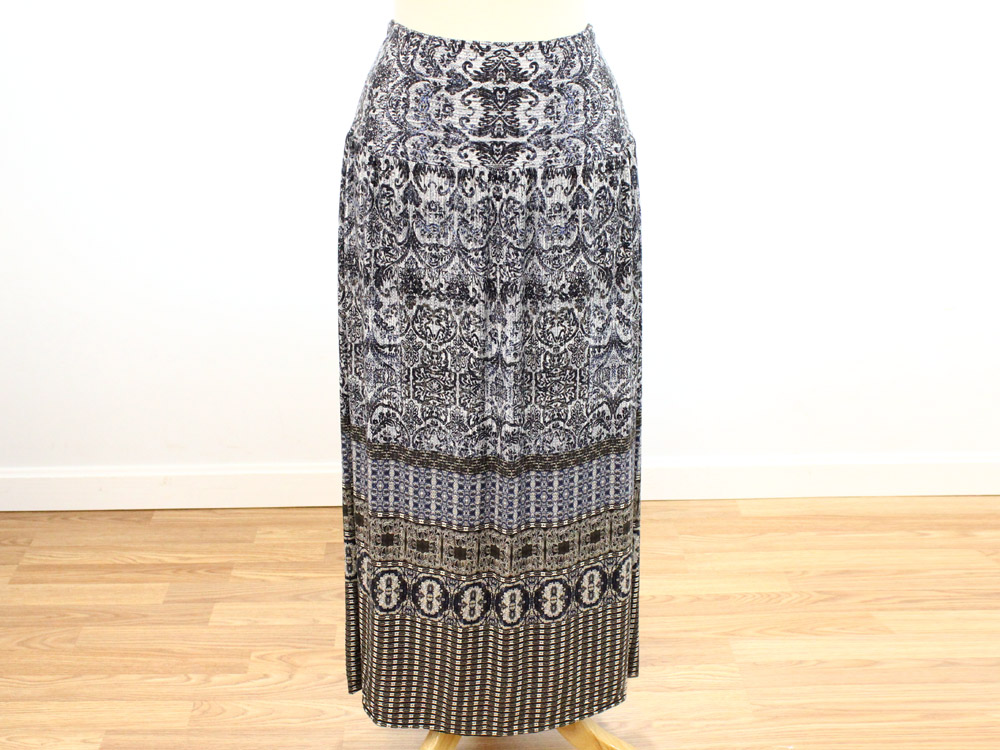
In this issue of “Imagine the Possibilities…” I show the methods and patterns you can use to create your own two-piece outfit with the Cricket fabric.
Enjoy!
The Complete Outfit
Materials Used – Size 4 Petite
- 2 1/2 yds of the Cricket viscose jersey knit – 1/4 inch-wide clear elastic tape.
- 3/8 inch-wide clear elastic tape – 5/8 inch-wide fusible web tape.
The Patterns
A yoke skirt or a simple top (with no cuts or darts) make the best use of the Cricket fabric or any other border-design fabric. These simple patterns allow for the perfect alignment with the border design!
Commercially Available Pattern Options
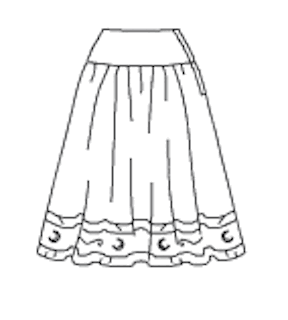
We recommend Vogue Pattern V8295 as the base for the skirt pattern – A gathered skirt with a lined yoke and a side zipper closure. Given that Cricket is a jersey knit fabric, there is no need for a zipper closure. Instead, a 3/8 inch-wide clear elastic tape can be applied to stabilize and maintain the elasticity of the yoke at the waist.
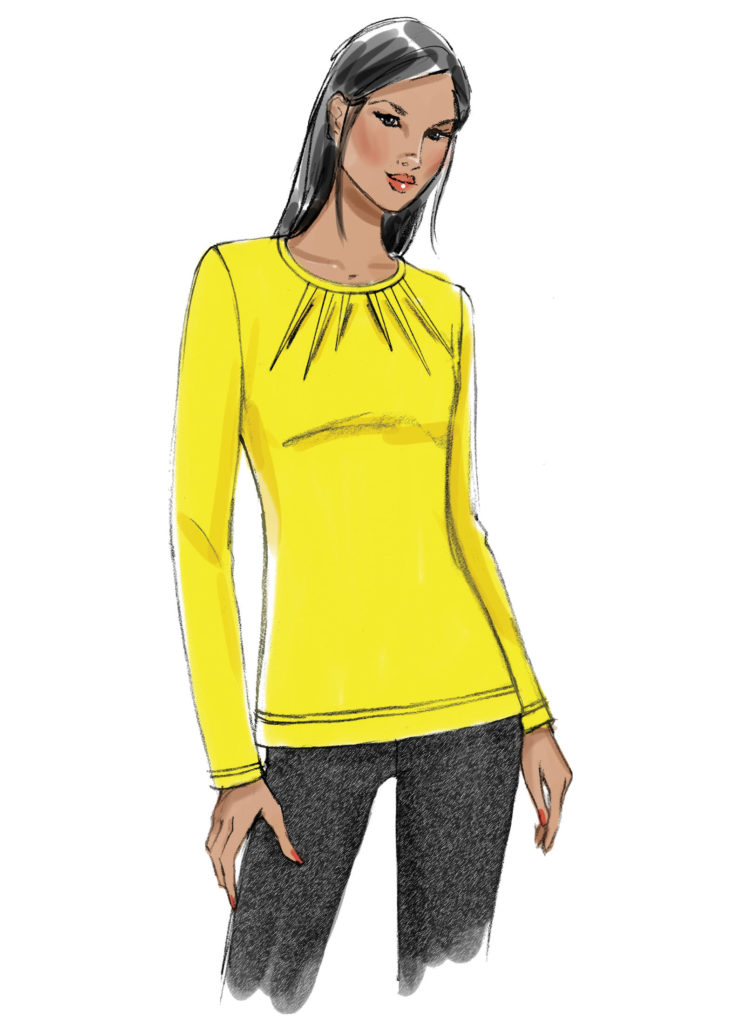
We recommend Vogue Pattern V9205 as the base for the top pattern – A pullover top with darts that can be transformed into the simple gathers.
Note: I used my own custom patterns to make both the top and the skirt of this outfit. For the expert sewist who wants to make a custom skirt yoke pattern, you may want to follow the tips provided in“Imagine The Possibilities…” issue of July 2018.
Pattern Layout
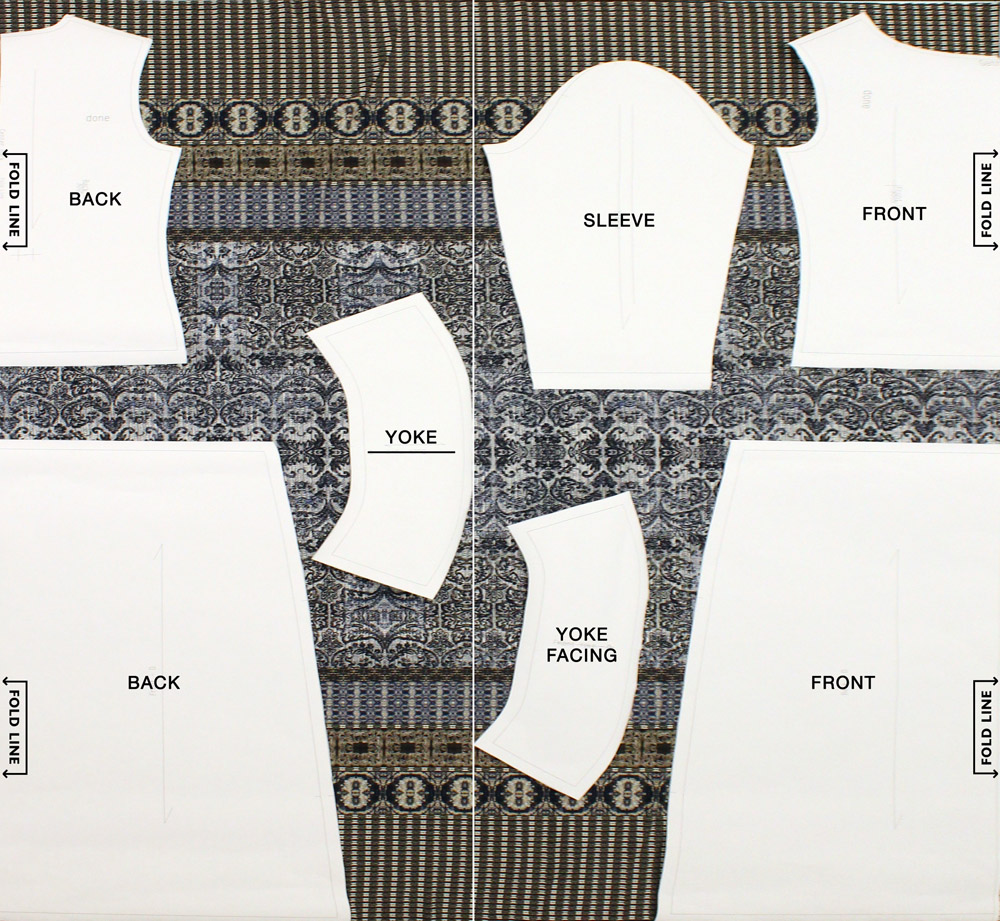
Fold the fabric lengthwise by bringing the two opposite cut ends to meet almost halfway over the bottom layer, thus creating two folded sides and allowing for the main pattern pieces (top back, skirt lower back, top front, and skirt lower front) to be placed on the fold. Take extra care as you fold the fabric to ensure a symmetrical design at each of the folded sides.
Align the sleeves pattern with the top back and top front pattern pieces at the underarm points.
Place one of the skirt yoke pattern pieces at a 90-degree angle aligned with the center of the fabric design (as shown below). DO NOT cut the skirt yoke pattern pieces yet. Remove the yoke and yoke facing pattern pieces prior to cutting. This initial placement of the skirt yoke and its facing is for planning purposes only. This will ensure that you have sufficient space left to place the skirt yoke pieces using the two fabric layers: one layer for the front yoke and the other layer for the back yoke.
After cutting the top and lower skirt pattern pieces, using a single layer of the remaining fabric pieces, cut the front skirt yoke and back pieces individually. Make sure to align each center of the front and back yokes with the center of the fabric design (as previously planned). You may place and cut the back and front yoke facing pattern pieces anywhere you can find room for them (as they won’t show) – just make sure you align them with the vertical grain of the fabric.
The top neck band may be placed and cut along the edge of the remaining border cutouts.
Tips & Tricks
Using The Clear Elastic Tapes
Use the clear elastic tapes to:
- Gather the fabric at the top front neck. Cut a strip of the 1/4 inch-wide clear elastic tape to the size of the desired finished gathered section. Using a straight stitch, sew the clear elastic tape along the seam line of the section to be gathered. Pull on the clear elastic tape as you stitch it in place – just enough to make sure it reaches the end of the gathered section.
- Gather the lower skirt sections. Measure the lower contour of the front and back skirt yoke where the lower sections of the skirt will attach to the yoke. Use these measurements to cut two strips of the 1/4 inch-wide clear elastic tape: one for the front and one for the back. Using a straight stitch, sew these tapes along the top seam line of the lower skirt sections to be gathered. Pull on the clear elastic tape as you stitch it in place – just enough to make sure it reaches the end of the gathered section.
- Stabilize the seams and maintain the fabric elasticity at the skirt waistband. Cut a strip of the 3/8 inch-wide clear elastic tape to the length of the desired finished waistband size. Using a wide zigzag stitch, attach the clear elastic tape (on the back side of the fabric) along the seam line at the waistband. Gently pull on the clear elastic tape as you stitch it in place – just enough to make sure it goes around the entire waistband.
Hemming Techniques
Test it First!Fold and press the hem with an iron. Place the fusible web tape between the fabric and the folded hem and fuse it to the two layers using a hot iron. You may elect to further secure the hem in place by top stitching it using either a narrow zigzag stitch, a decorative stretch stitch, or a double needles stitch.
Construction Steps: The Top
Step 1: Apply the 1/4 inch-wide elastic tape to gather the fabric at the top front neck section. Refer to “Tips & Tricks” under “Using the Clear Elastic Tape” above.
Step 2: Using a serger or a stretch stitch, sew the front and back at the shoulders.
Step 3: Close the neck band using a narrow zigzag stitch. Using a serger or a stretch stitch, attach the neck band at the neck contour.
Step 4: Using a serger or a stretch stitch, attach the sleeves to the front and back.
Step 5: Using a serger or a stretch stitch, close the side and sleeve seams. Hem the top.
Construction Steps: The Skirt
Step 1: Using a serger or a stretch stitch, separately attach the front and back yokes and the front and back yoke facings at the side seams. Then join the yoke and the yoke facing at the waistband.
Step 2: Apply the 3/8 inch-wide clear elastic tape to stabilize the yoke at the waistband seam. Refer to “Tips & Tricks” under “Using the Clear Elastic Tape” above.
Step 3: Apply the 1/4 inch-wide clear elastic tape to gather the lower skirt sections. Refer to “Tips & Tricks” under “Using the Clear Elastic Tape” above.
Step 4: Using a serger or a stretch stitch, attach the skirt lower front and back sections at the side seams.
Step 5: Using a serger or a stretch stitch, attach the finished skirt yoke to the gathered lower skirt sections – sewing all three fabric layers together. Hem the skirt.
If you end up giving any of these ideas a try, be sure to send us a photo of your beautiful creations to receive a $5.00 Sawyer Brook coupon!
As always, your feedback and suggestions are most appreciated. Let us know what fabrics you would like us to carry and how we can make your Sawyer Brook shopping experience more enjoyable.


